Showing posts with label DIY. Show all posts

Friday, October 20, 2017

Roasted Pumpkin Seeds

When pumpkins are in season, make the most of it. Not only is the pulp of pumpkin edible, but also its seeds. Some roasted pumpkin seeds are great to munch on. We love having it . And it is not tough at all to make it and stores well too.
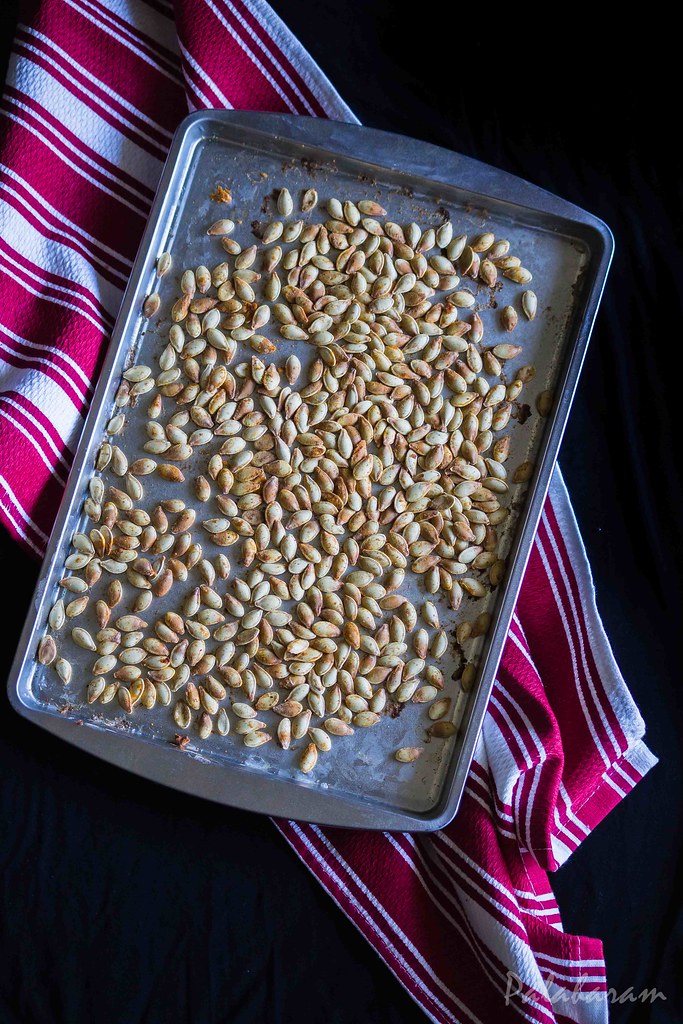


Now when I think of all the pumpkin seeds that I threw away, without knowing if those could be eaten, I feel sorry. They are yum. My kid loves to munch on it and so do we.

Wednesday, October 11, 2017

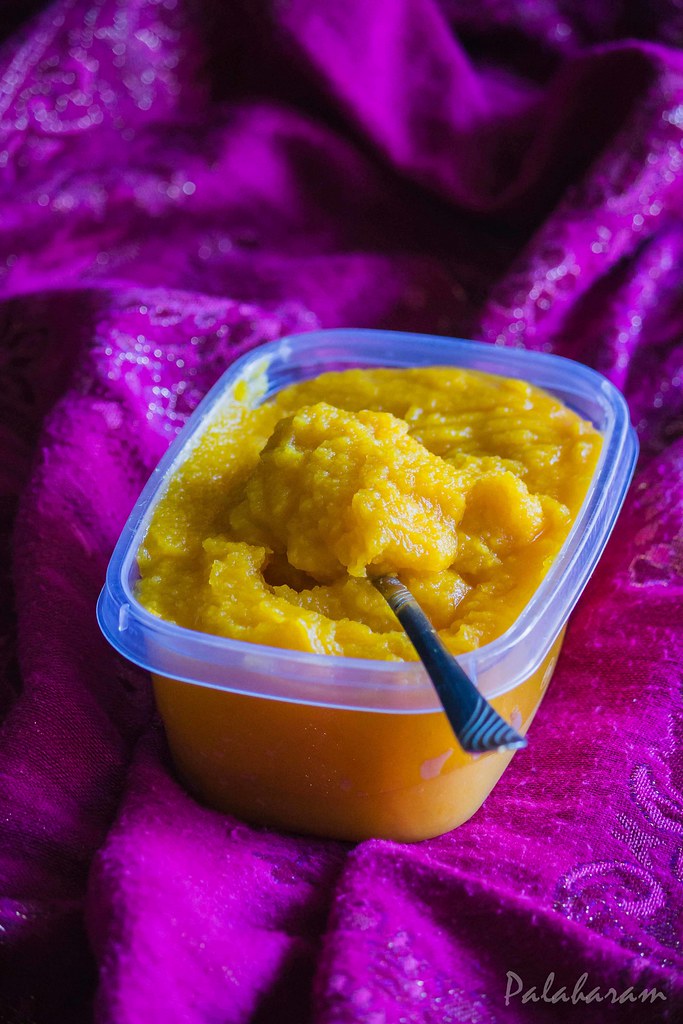
Homemade Pumpkin Puree

When Pumpkin is everywhere, literally seen/available everywhere, you need to take full advantage of it. If you are a pumpkin lover like me, bake or cook as many as dishes as you want because once they are out of the market they would be able to source them only, after a year. You get those preserved forms anytime, but they cannot replace the goodness of the fresh ones. Last year, I had made the pumpkin puree and preserved it to make goodies out of it during off season. And I must say, its been working. Those cravings of having pumpkin bread or pancakes have been fulfilled soon enough without waiting for the fall season to come or having indulged in store bought preserved pumpkin purees. I have been meaning to share the process for some time now. I am glad, atleast I could post it this fall season. If you spare some time and make it, the outcome is just rewarding. So here is how it is done.


Sunday, October 8, 2017

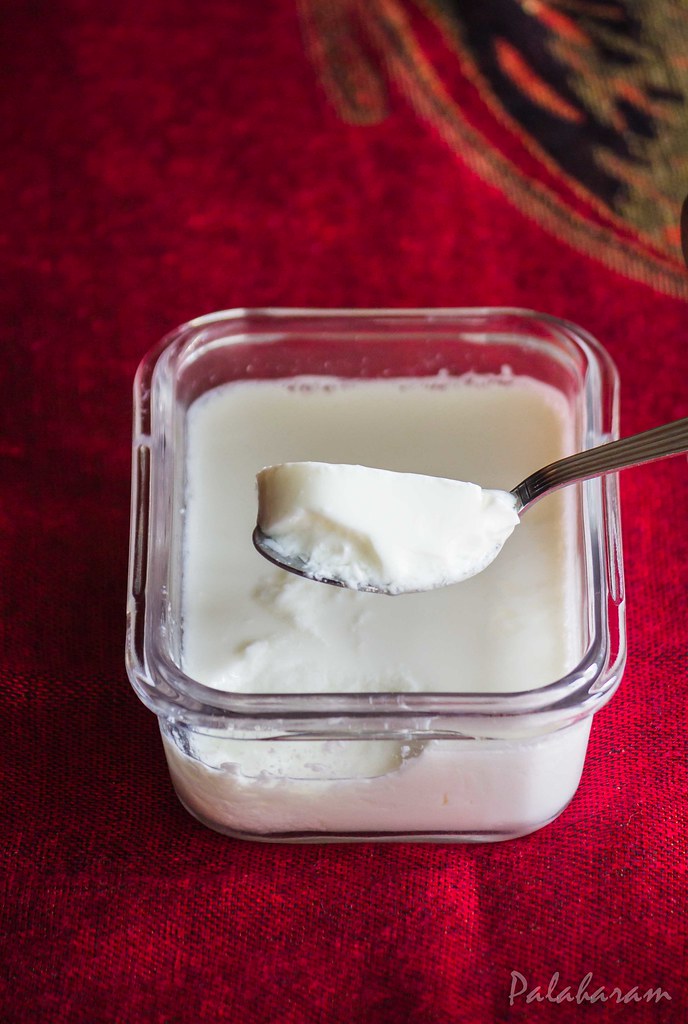
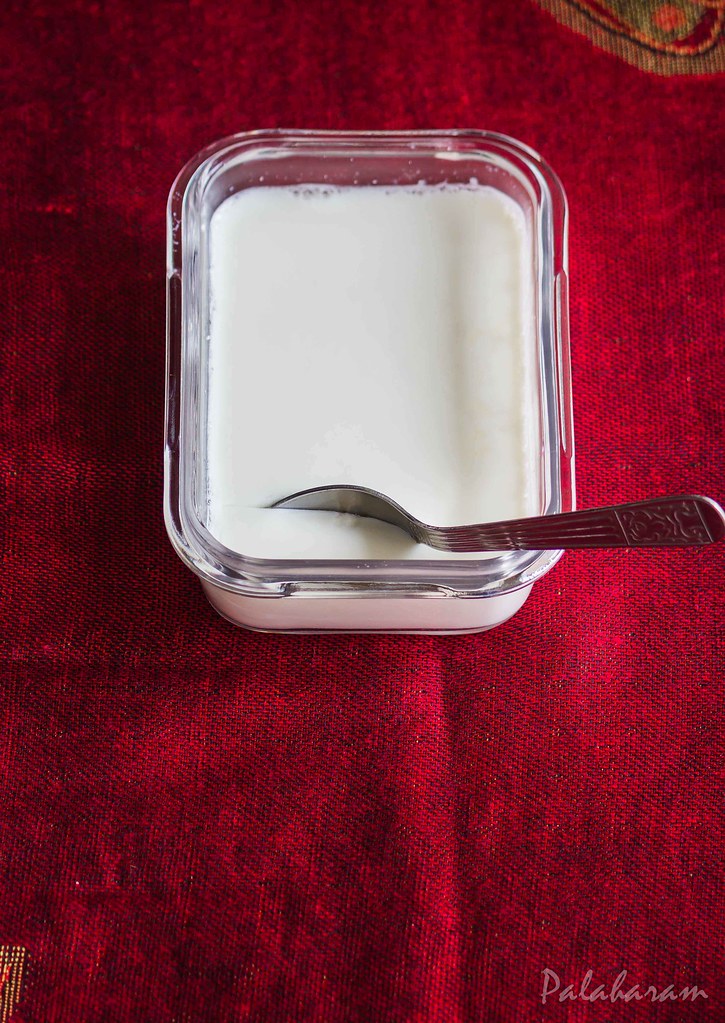
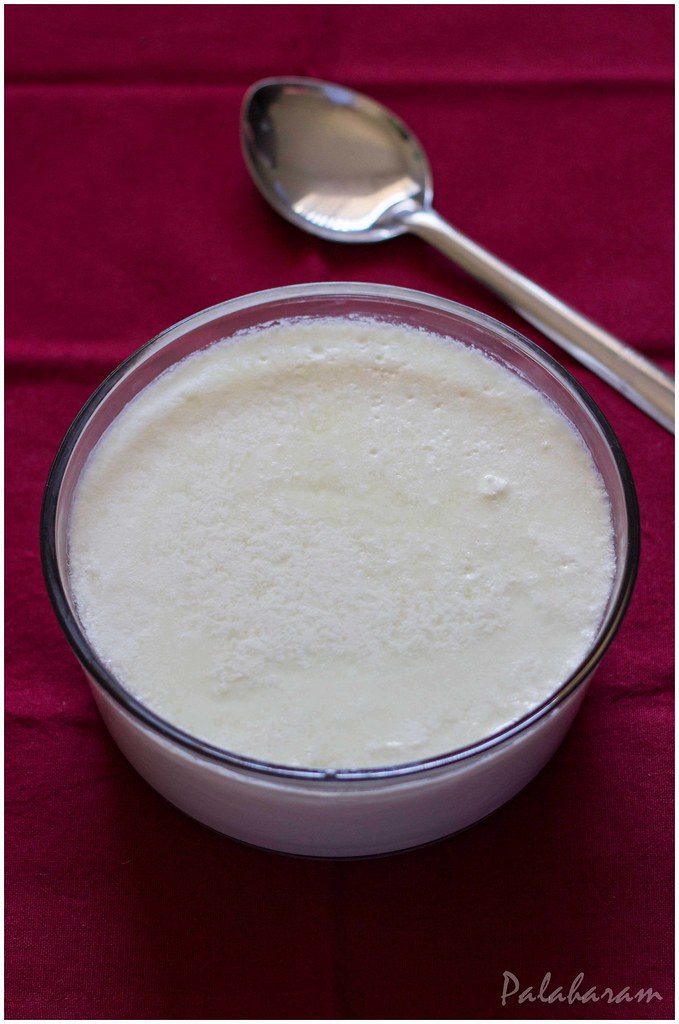
DIY : Making of thick Curd/ Yogurt

Anything homemade is just perfect. So is the homemade curd. Not only is it healthy because you know what goes into it. Also, it is much cheaper when made at home. If you ever make it at home, you won't go back to the store bought ones EVER. Because why would you, when you could make it at home so easily. You cannot go wrong with this method.


Ingredients
  1. 3 cups of whole milk
  2. 1 1/2 tbsp of starter/ curd/ yogurt at room temperature
For making of starter
  1. 1/2 cup of milk
  2. 1 tsp of vinegar/lemon juice
Method

Making of starter
  • Take 1/2 cup of milk. Heat it untill just warm to touch. Add 1 tsp of vinegar or lemon juice. Mix it well.
  • Keep it in a warm place undisturbed for about 12 hours. 
  • The starter is used usually for just making of curd and not consumed as is, as it would be sour.
  • Rather than going for making the starter every time you make the curd, its recommended to just use the yogurt or curd as the starter, for better results.
Making of curd
  • Pour the milk in a pan. Bring it to a boil. Lower the heat and let it simmer from about 5 minutes. Keep stirring it to prevent the milk from getting burnt. Turn off the heat. 
  • Remove it from the fire and let it cool down, untill the milk is just warm to touch.
  • In the container that you plan to set the curd in, add the curd that is set aside as starter. Give it a whisk. Now strain about 3/4 cup of the boiled and cooled milk to this container. Whisk it well so that there are no lumps. Now add the remaining milk and give it a whisk to spread the starter.
  • Keep it in a warm place(not very hot, else the bacterial would get killed and the curd will not be set) undisturbed for about 6-8 hours. You can either switch on the lights of the oven and place the container in the oven.
Tips
  1. Using whole milk is highly recommended to get a thick yogurt. In case, you use fat free milk , just don't skip the step of simmering of the milk after it has come to a boil. It would help to get a thick curd.
  2. Straining the milk is optional. I strain it to remove the cream that is formed on the milk once it cools down. This helps in forming smooth curd.
  3. During winters, place the curd in the oven, to set. Turn on the oven just to warm up. Turn off the oven and then place the container in it over night or about 6-8 hours to obtain thick curd.
  4. If you do not happen to have an oven, just keep it near a pot of hot water or near by the stove while you cook or just wrap it in a blanket to keep it warm.
  5. In summer, the curd setting would happen faster. So you may want to check back on it after 5-6 hours to prevent the curd from going sour. 


Saturday, March 26, 2016

Ginger Garlic Paste

Ginger garlic paste is readily available in the market. But the scary thought of preservatives added into them.... I prefer not to buy those but make some fresh at home by myself. And it is not that big a task. Peeling garlic is a task but if you know the shortcut to peel the garlic it is such an easy job. Moreover, for me, I do it while my kid is sleeping and me catching upon some movie :).


To peel the garlic easily, place it in a large steel container and cover it. Now shake it up and down real hard for about 3 minutes. 90% of garlic would be peeled off. I used to go for freshly peeled garlic and ginger every time I cooked. But after having Jordan, lack of time, made me switch to this ginger garlic paste. And cooking started to look much easier for me. Every time I peel the ginger and garlic in bulk to make this paste, the smell of it makes Jordan think that I am making Chicken and keeps asking me if Chicken is ready....he he he

Monday, December 14, 2015

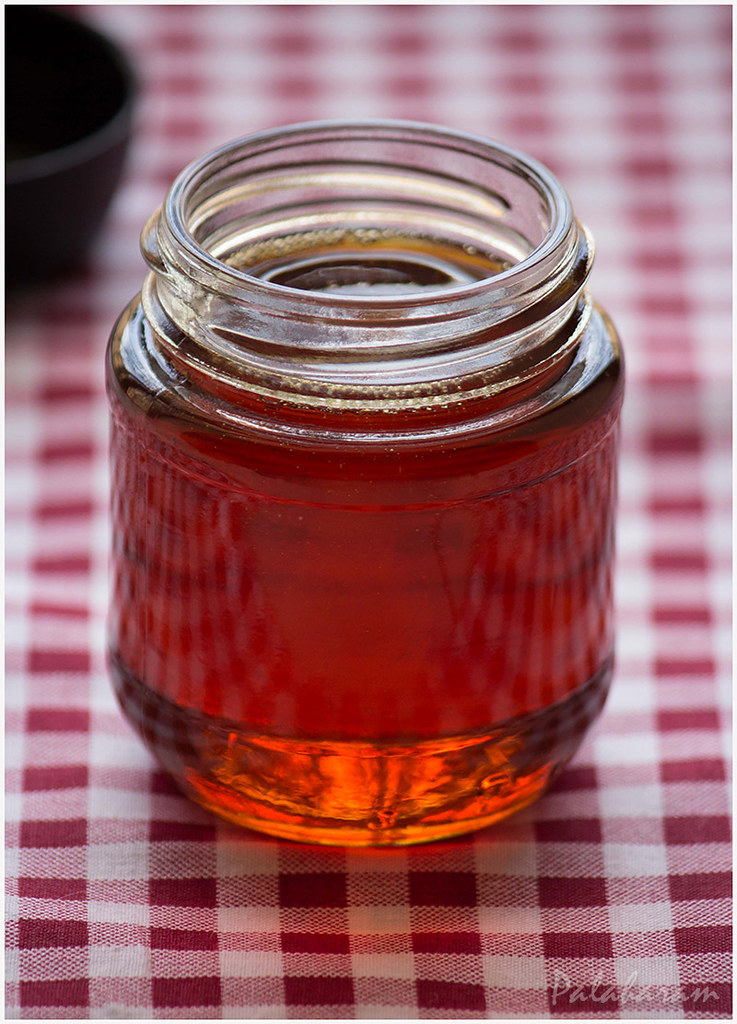
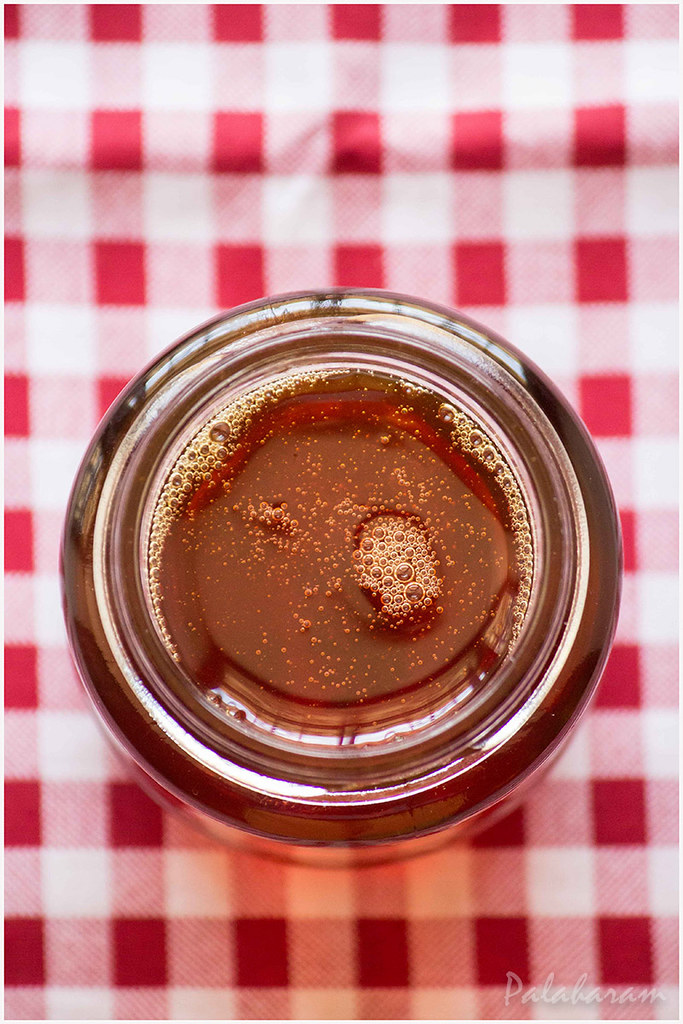
Making of Caramel Syrup

X'mas is fast approaching. I guess you would have long back started off the preparation by soaking the dry fruits for the Fruit cake and also fermenting the grapes for the awesome homemade grape wine, to pair with the cake. If you have not done it yet, then I am sorry I really can't help you make a homemade grape wine because it would need those number of days to age, to achieve a perfect grape wine. But if you have not soaked up the fruits yet, then may be I could be of some help. The Fruit cake recipe that wouldn't require your fruits to be soaked for days is here. 


Now this post is about making your caramel that goes into the fruit cake that I was talking about. You could make the caramel syrup in bulk if you make too many number of cakes at home for X'mas. So that with every batch of cake that you make, you don't have to go through the overhead of making this caramel syrup every time. If stored in a dry and air tight bottle in the refrigerator, they stay good for months. So every time you have to make a Fruit cake or Pudding, you just pull it out of the refrigerator and use it. 

Saturday, May 11, 2013

Homemade Puff Pastry and Chicken Puffs

During my hostel days, I remember that my parents/brother/uncle/aunt whoever visited me, a package from the bakery would come along with them. In that package, puffs would be one of the things. It used to be one thing that you take with you when you are visiting family members / having a tea party / having a bride viewing at home etc. etc.


I have noticed the current generation have a different trend these days. They would rather prefer fried chicken, burgers, hot dogs, pizza... Since the demand for puffs has gone down, the bakeries tend to make only a hand full of them and only the early birds get lucky. So, it had been a while that we had them. 
Blogging tips