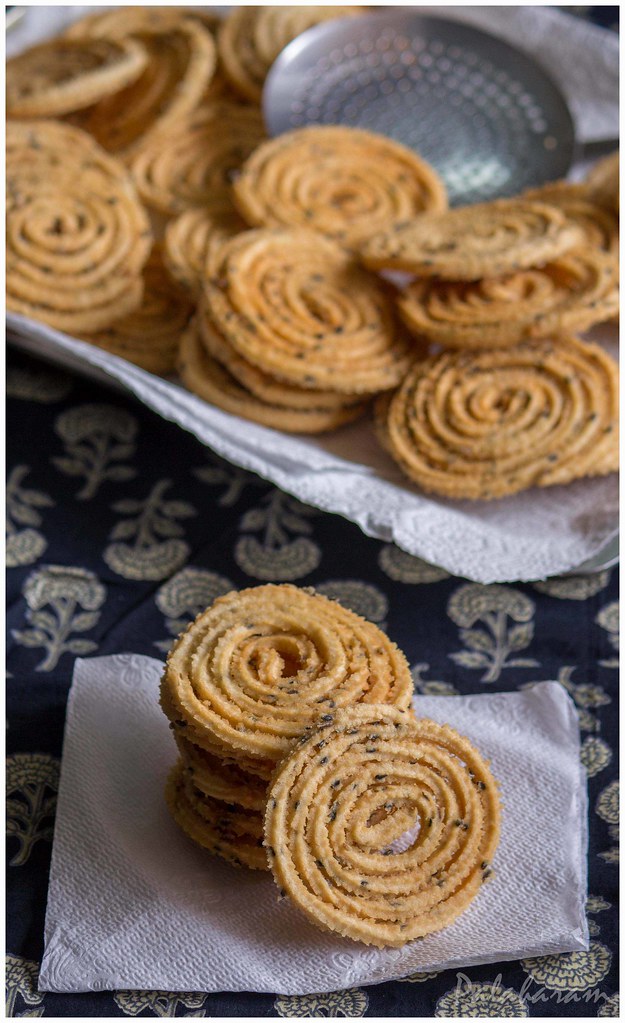
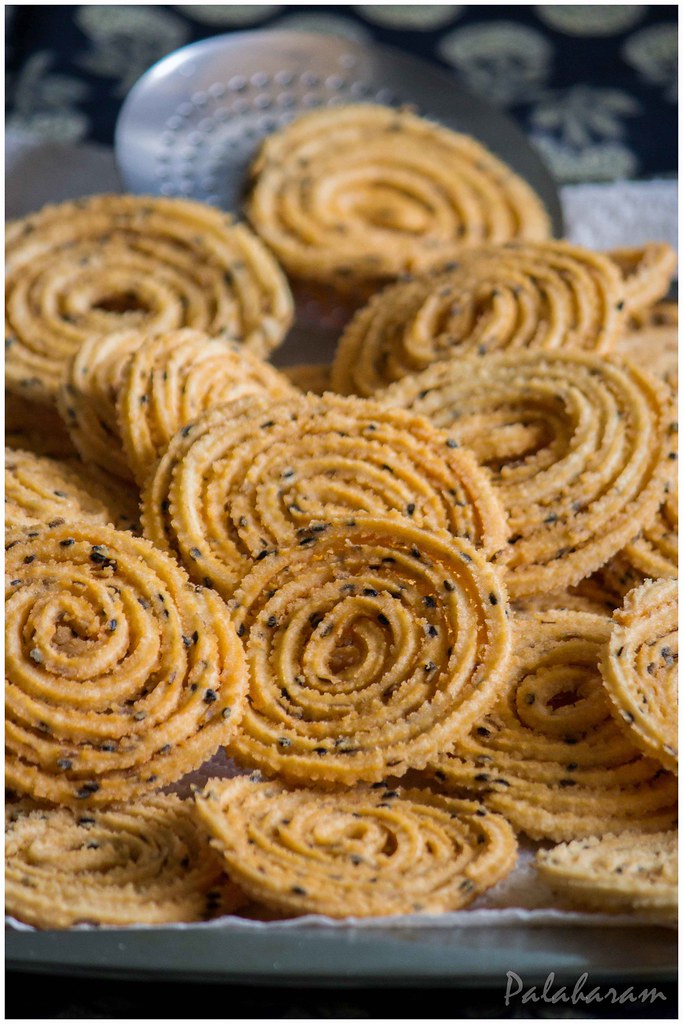
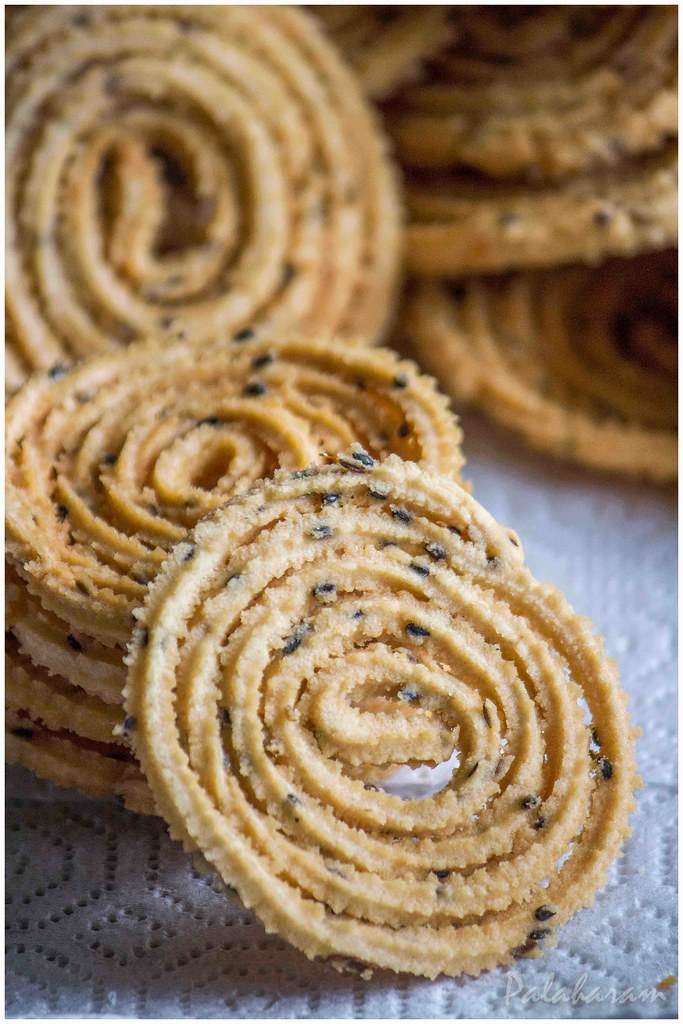
Most of you might associate Chakli/Murukku with the festival of lights - Diwali. But for us, every other visit to the Indian store links to the very thought of Murukku :). Everytime we visit one, we would buy these and stock it. Well, this snack had been so dear to our heart, that these never lasted long at home and would get over the day, we bought it. So one day, I decided to give it a try.
Its not that murukku making involves a very complicated process, but just that the fear of not having tried earlier, kept me pushing it. I searched on the internet but couldn't decide which one to go with. Infact, the recipe that I was looking for, was just a call away. Yes, it was with my mother :). Also, it being the first blog post of Palaharam, I thought to keep it simple. So, here you go.
Ingredients
Ingredients
- 1 cup of rice flour
- 1/2 cup of urad flour
- 1/2 tbsp of sesame seeds
- 1/2 tbsp of cumin seeds
- 1/8 tsp or a pinch of asafoetida powder
- Salt to taste
- 11/2 tbsp of butter at room temperature
- Water
- Oil for deep frying

Method
- Dry roast the rice flour and urad flour, on medium heat, separately and keep it aside to cool down. Do not burn it.
- In a bowl, mix all the dry ingredients - 1 to 6.
- Add the butter and mix it in such a way that it gets incorporated onto the dry ingredients.
- Pour water, little by little, to form a stiff dough. The dough should be neither too wet nor too dry.
- Divide the dough into portions that could fit into your murukku maker.
- Meanwhile, grease the walls of the murukku maker with little oil and fix the one star plate that comes with the murukku maker.
- Form spiral shapes on to a plastic sheet/tray, using the murukku maker.
- Meanwhile, get the oil heated up in a deep bottom pan. Heat the oil to a desired temperature, so that when you drop a tiny piece of dough, it should rise to the top as soon as it hits the bottom.
- Slide the murukku into the oil carefully in a manner that the shape retains, at the same time you do not end up burning up your fingers.
- Flip over the murukku once it rises to the top. Deep fry it, till the bubbles around the murukku disappears.
- Remove it to a tissue paper and let it cool.
- Yields around 18-20 murukku

Tips
- Do not make the dough too wet. It would lead the murukku to absorb oil.
- Do not form the spirals, if you expect a delay in frying it up. This would lead to drying up of the dough and the murukku may break and loose its shape while frying.
- Once the desired temperature has been arrived, adjust the heat between medium to medium-high. Else the murukku might look crispy and dark, however, would stay uncooked inside.
- For safety and to retain the shape of the murukku, it is advisable to slide the murukku on to a flat steel spoon and slide it into the heated oil.

.jpg)


Wish i had them. Crunching here virtually :-)
ReplyDeleteCourtesy - Affordable Shipping
You should try it. Its an awesome snack and the recipe is quite simple :)
ReplyDeletethat looks soo crispy and perfect..well done
ReplyDeleteLoose Weight and Look Beautiful
Thanks Joe :)...
ReplyDeleteU made it so perfectly.......wanna crunch it with a cup of tea.... :)
ReplyDelete