The weather has been so unpredictable recently. Last week, I thought that summer was almost here when it was too hot during the afternoons. And all of a sudden it is raining today and will be raining for the rest of the weekend too. So we are stuck at home.

Its spring break here and with the kid also at home, we have been doing so many activities together; even cooking. And he loves it. One way to make someone eat something that they hate is to make them cook it, so that they appreciate the effort it takes to make it and the thought of having worked on it makes it interesting. So the same is the strategy that I have been doing with my kid too. Thankfully he will not get to know, untill he learns to read it here so I am safe... he he.

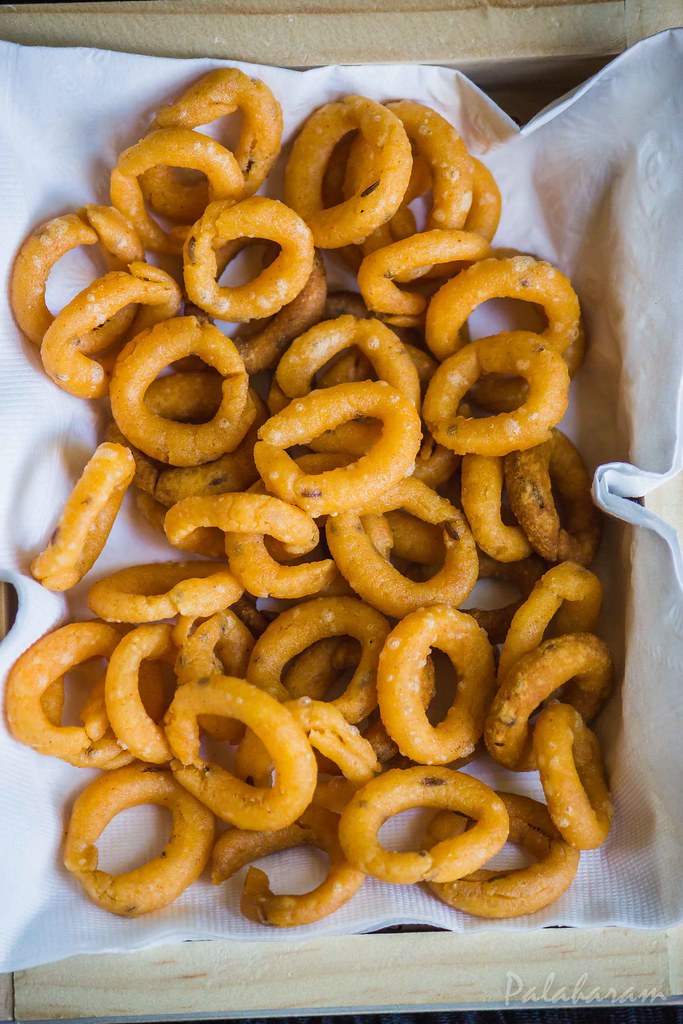
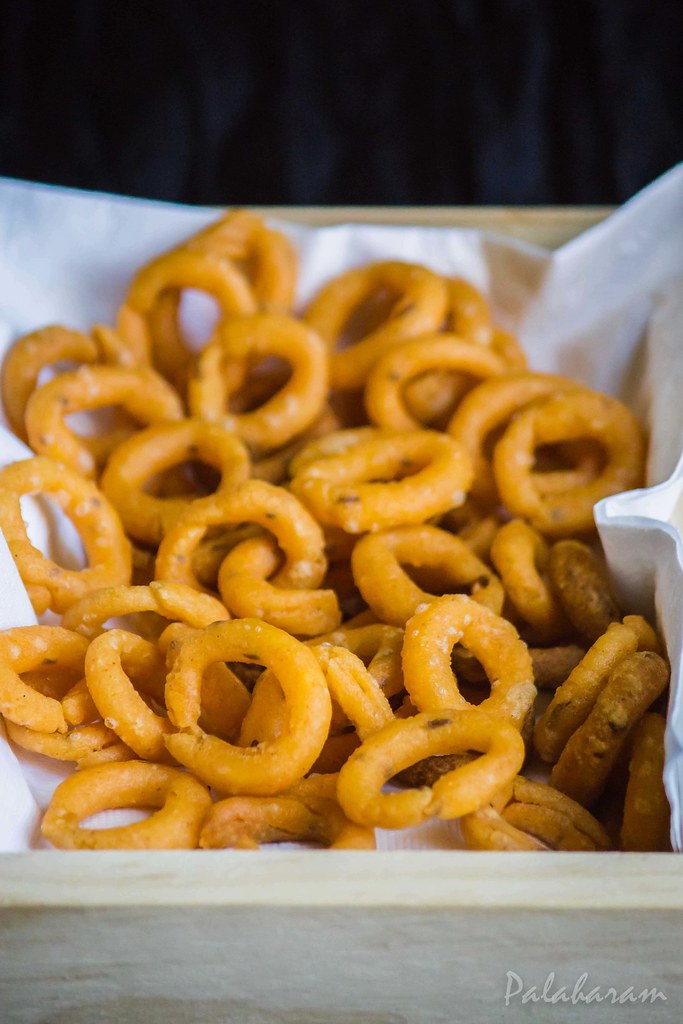
Fried snacks are so addictive and the isle in the Indian market carrying snacks gets visited by us always. This Chengodilu was one such snack that we go introduced to. All three of us liked it. Today while it is raining, all I could think of was this snack that we recreated at home. While I munch on some cookie and tea I thought I should atleast make it appear on the blog, now that it has been in the draft for so long, and before I forget about it for another decade. So here you go.

 Ingredients

Its spring break here and with the kid also at home, we have been doing so many activities together; even cooking. And he loves it. One way to make someone eat something that they hate is to make them cook it, so that they appreciate the effort it takes to make it and the thought of having worked on it makes it interesting. So the same is the strategy that I have been doing with my kid too. Thankfully he will not get to know, untill he learns to read it here so I am safe... he he.

Fried snacks are so addictive and the isle in the Indian market carrying snacks gets visited by us always. This Chengodilu was one such snack that we go introduced to. All three of us liked it. Today while it is raining, all I could think of was this snack that we recreated at home. While I munch on some cookie and tea I thought I should atleast make it appear on the blog, now that it has been in the draft for so long, and before I forget about it for another decade. So here you go.


- 1 cup roasted rice flour
- 1 tbsp of moong dal, dry roasted
- 1 tbsp of ghee
- 1/2 tsp of ajwain/ carom seeds
- 1/2 tsp of jeera /cumin seeds
- A big pinch of asafoetida
- 1/2 tsp of chilli powder
- Salt to taste
- 1 tbsp of hot oil
- 1 cup of water
- Oil for deep frying
- Heat 1 cup of water. While it is heating up, add the ingredients 2-8.
- When it starts boiling, add the rice flour, little by little, while you stir it in. Switch off heat and leave it covered for about 10 minutes.
- Open and add a tbsp of hot oil while you knead it well into a smooth dough.
- Make small balls of about a gooseberry's size. Roll the balls into a thick rope on the countertop using your palms to about 3 inch long. Press the ends together and form a ring. Keep the dough covered while you shape the chengodilu to prevent the dough from getting dried up.
- Meanwhile, get the oil heated up in a deep bottom pan. Heat the oil to a desired temperature, so that when you drop a tiny piece of dough, it should rise to the top as soon as it hits the bottom. Try to maintain the same temperature for the frying.
- Slide the chengodilu into the oil carefully in a manner that the shape retains, at the same time you do not end up burning up your fingers.
- Flip/stir the chengodilu once it rises to the top to ensure even frying. Deep fry it, till the bubbles around the chegodilu disappears.
- Remove it to a tissue paper and let it cool completely.
- Store it in an air tight container.
- Do not shape the chengodilu, if you expect a delay in frying it up. This would lead to drying up of the dough and the chengodilu may break and loose its shape while frying.
- Once the desired temperature has been arrived, adjust the heat between medium to medium-high. Else the chengodilu might look crispy and dark, however, would stay uncooked inside.


No comments:
Post a Comment
Thank you for paying us a visit :). If you happen to have tried any of the recipes posted here, please do leave a comment that could serve as a review for other fellow visitors of Palaharam.
Also, do feel free to send in your suggestions that could help us improve and serve you better using the 'Contact Us' form.