If you are observing lent, then you would know the struggle to make your non-veg loving family finish the lunch/dinner without a fuss. In an effort to make them not crib about the food at the dining table, we have been cooking varieties. Just a way to mask the absence of meat/chicken.. he he.
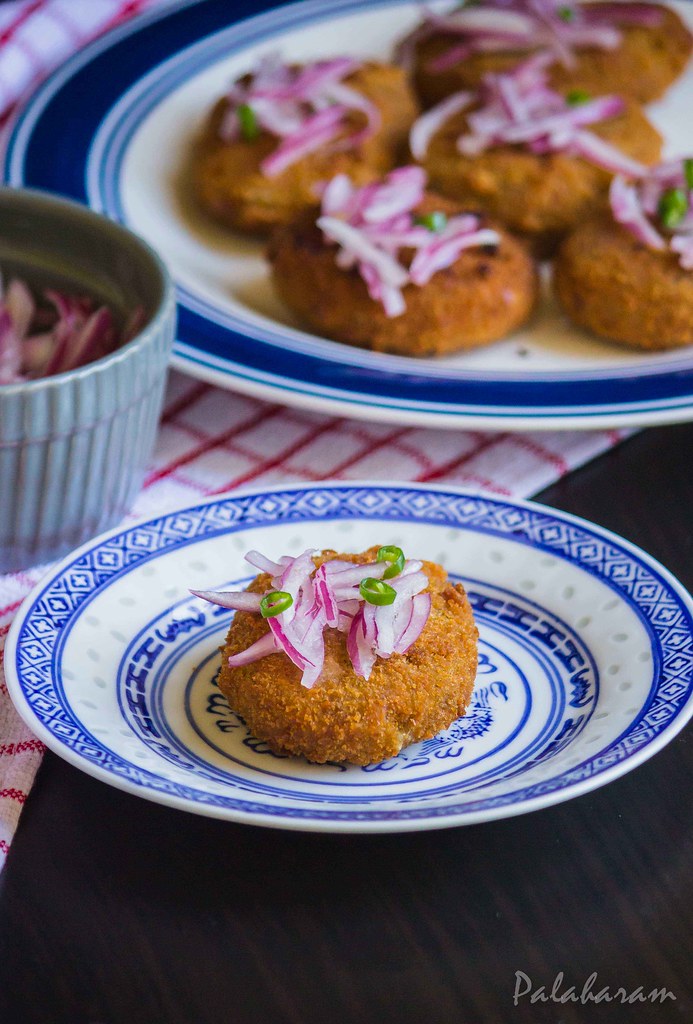
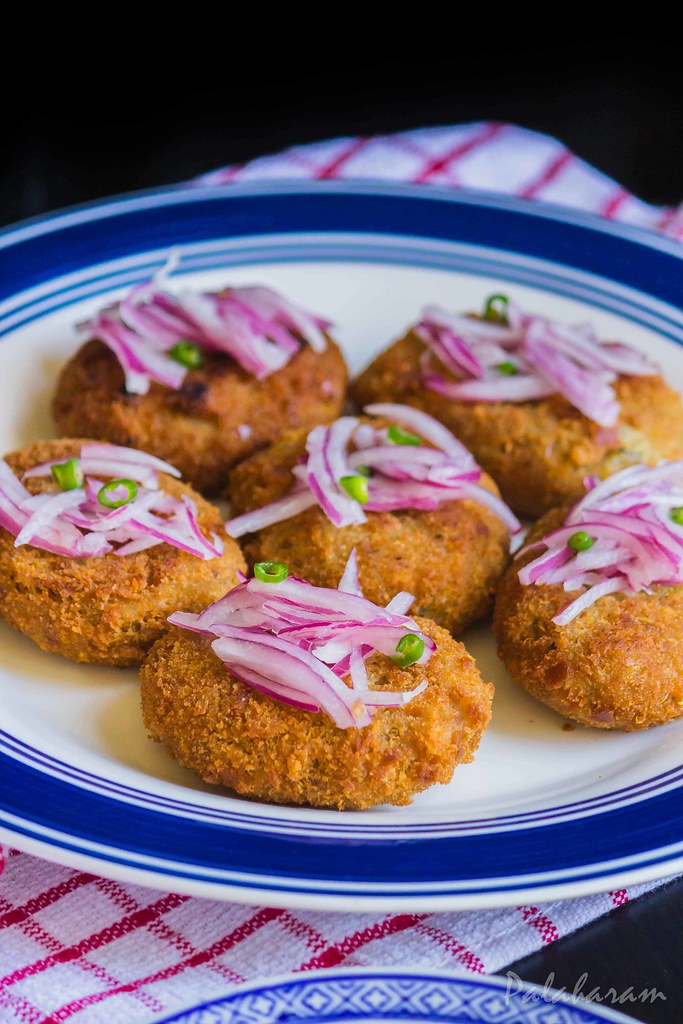
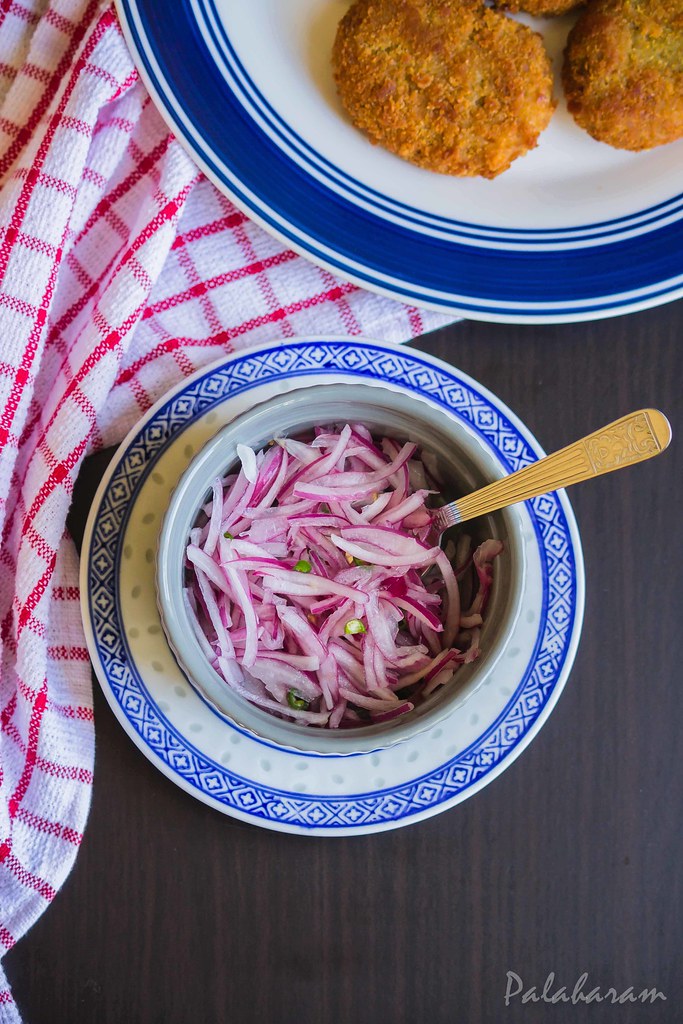
My kido never tries quinoa when we make it. But this cutlet was gulped down in a matter of seconds. And if you know my kid personally, you know that is a big achievement. Because otherwise, he would be sitting with the food for hours which makes me feel if an egg might hatch out of him.
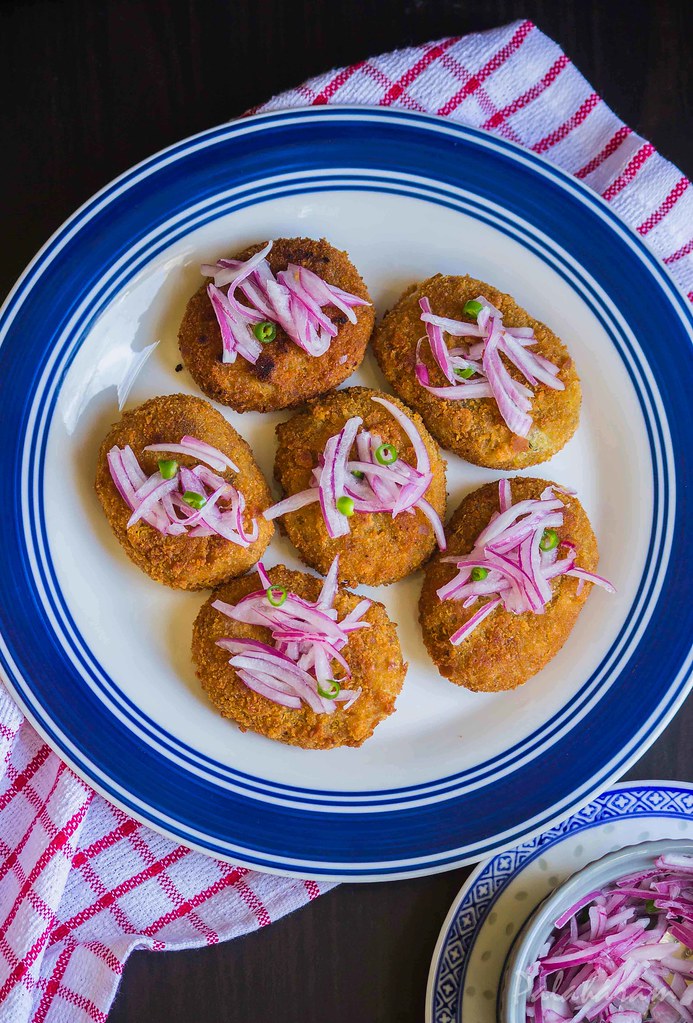
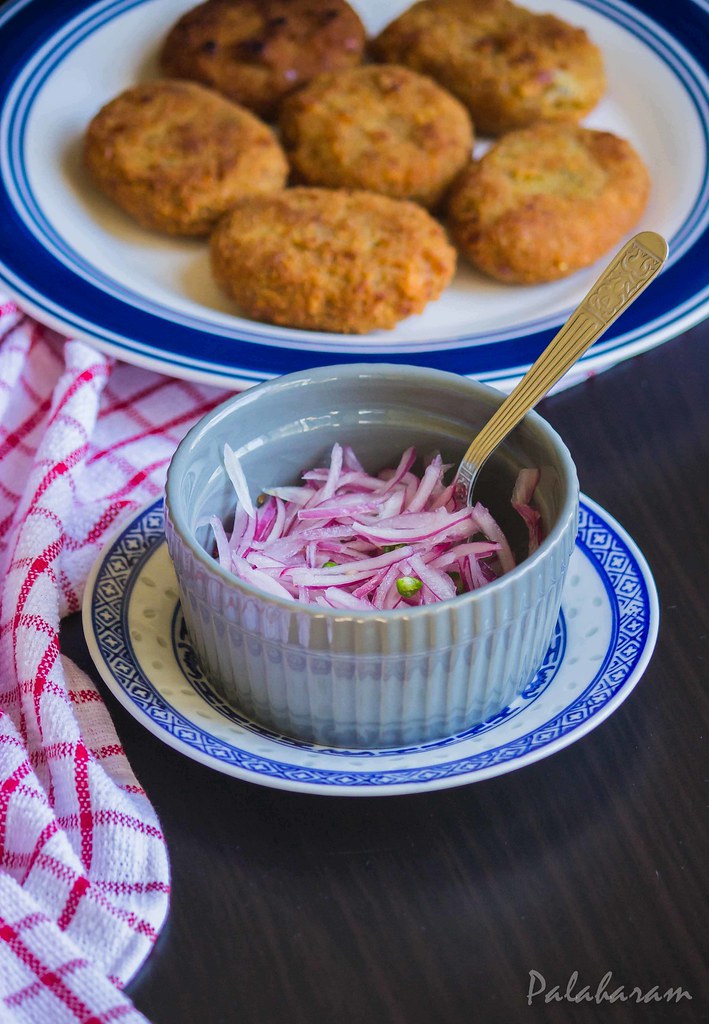
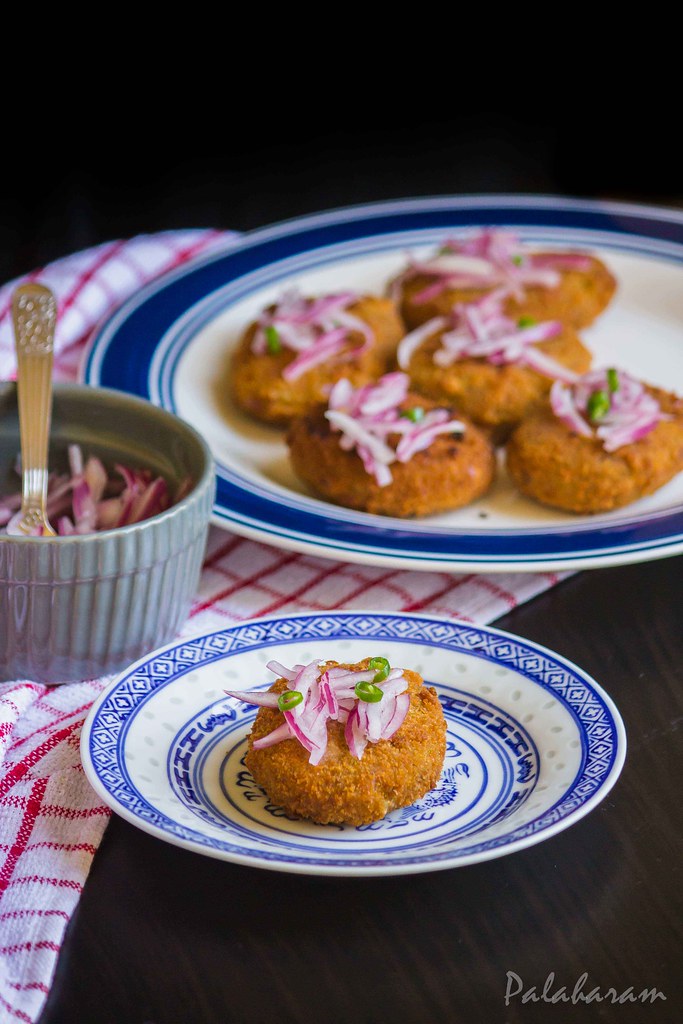
Anyways, coming back to the cutlets, these quinoa cutlets are a breeze to make and packed with proteins. And if you have a quinoa hater at home then you should try it for sure to see if you can let them take quinoa in this form.
Ingredients
- 1 1/2 cups of cooked quinoa
- 1 cup of boiled and mashed potato
- 1 cup of chopped red onion
- 1 tbsp of grated ginger
- 1 sprig of curry leaves, finely chopped
- ¼ tsp of turmeric powder
- ½ tsp of garam masala
- Salt to taste
- 2 tbsp of oil
For frying of cutlets
- 3 tbsp of all purpose flour
- 2 cups of bread crumbs
- Oil for shallow frying
- 1 1/2 cup of sliced red onion
- 1-2 green chillies finely chopped
- 1 tsp of vinegar/ lemon juice
- Salt to taste
Method
Making of Sarlas/Challas
- In a bowl, add all the ingredients listed for Sarlas.
- Give it all a mix with the hand. Gently rub the onion with the hand while you mix.
- Keep it aside for abut 15 minutes. It will release some water. Drain it before you serve or if you don't mind you could use it as is.
Making of Quinoa Cutlets
- Heat a pan with 2 tbsp of oil. Once hot, add the chopped red onion, ginger, curry leaves and salt. Saute it until the ginger and onion loose their rawness and start spreading a nice aroma.
- Add the turmeric powder and mix it well.
- Add the cooked quinoa . Mix it well and cook it for about 3-4 minutes.
- Add the garam masala and stir it into the mixture. Add the mashed potatoes and mix it thoroughly for all the ingredients to spread evenly. Adjust salt and cook it for couple of minutes. Turn off the heat and let it cool down.
- Make an inch size balls out of the mixture and press it between your palms to attain the shape of the cutlets. Secure the sides of the cutlets to close down any cracks.
- When you are done shaping the cutlets, and they have cooled down, place them in the fridge for about half an hour before frying.
- Prepare the oil for frying in a pan.
- Add about 5-6 tbsp of water to the all purpose flour to make a watery batter out of it.
- Dip each cutlet in the batter, roll it in the bread crumbs to coat it and then fry it in the oil under medium high heat until they turn golden brown on all sides. Remove it into a plate lined with tissue paper to drain away excess oil.
- Serve it warm with some onion sarlas or tomato sauce/ketchup.
Tips
- Keep the bread crumb in a bowl and not in a plate. This would help prevent wastage of bread crumbs and at the same time help the bread crumbs spread evenly over the cutlet.
- Make sure you don’t have cracks on the cutlets while shaping them. Else there are chances that they might break up while frying.
- Since the cutlet mixture is already cooked, its just the bread crumb coating that needs to be cooked. Hence, fry it just untill the cutlet surface turns dark brown in colour.
- Fry the cutlets on medium heat. High heat would burn them and low heat would make them drink too much of oil.


No comments:
Post a Comment
Thank you for paying us a visit :). If you happen to have tried any of the recipes posted here, please do leave a comment that could serve as a review for other fellow visitors of Palaharam.
Also, do feel free to send in your suggestions that could help us improve and serve you better using the 'Contact Us' form.