

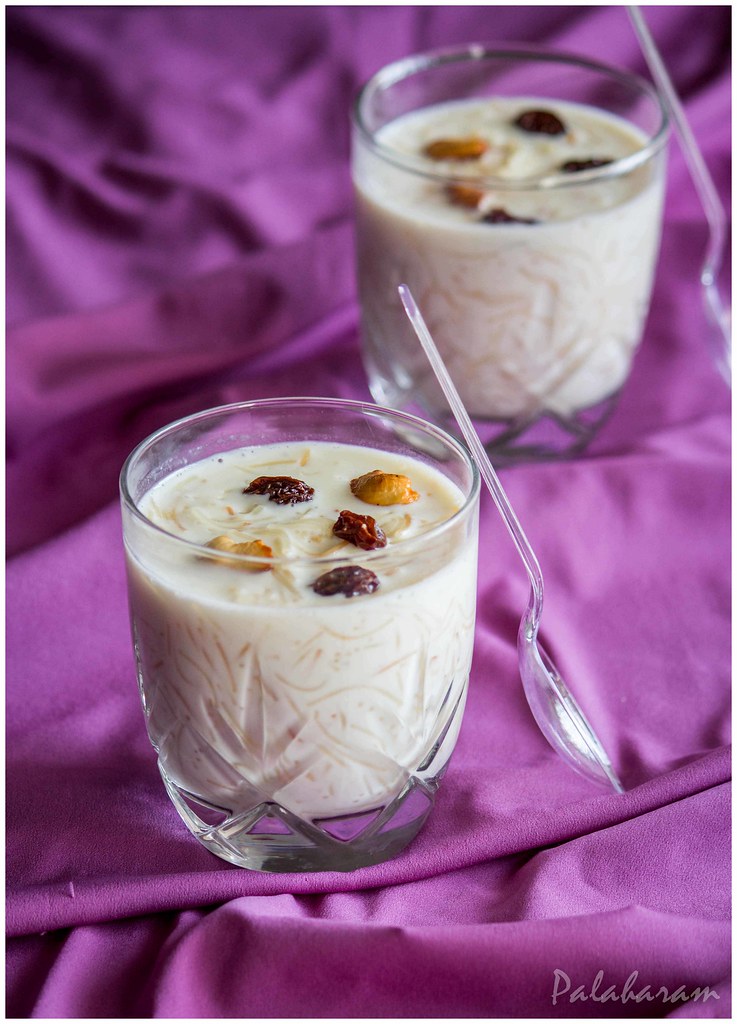
The nostalgic memories of this kheer hits me when the semiya gets roasted in ghee. I go back to those days when my mom use to make it for us. These days its me, who roasts it, smells it and has the kheer. Personally I feel, after having smelled the aroma and going through the feedback loop(tasting and adjusting the sugar) through out the entire cooking process, my stomach gets full that I end up having a little when its fresh. But when had later, the left overs taste good :). Do you feel the same? Anyways, getting back to semiya payasam recipe; here it is.
Ingredients
- 1 1/2 cup of semiya/ vermicelli
- 1/2 cup of sweetened condensed milk (optional ; refer Tips)
- 3 cups of milk
- 1 tbsp of ghee
- A pinch of salt
- Crushed seeds of 2 cardamom
- Rasins and split cashews as required
- In a pan, heat the ghee. Once hot, fry the raisins untill puffed and roast the cashews. Keep it aside.
- In the same pan, put the semiya and roast it while you stir constantly to avoid burning it. The semiya should turn light brown. Do not over roast it.
- Once the semiya is roasted, pour in the milk and let it boil. Once it boils, turn the flame down to medium and add the condensed milk and pinch of salt. Stir well. Let the semiya cook well and turn tender. Remove it from the heat.
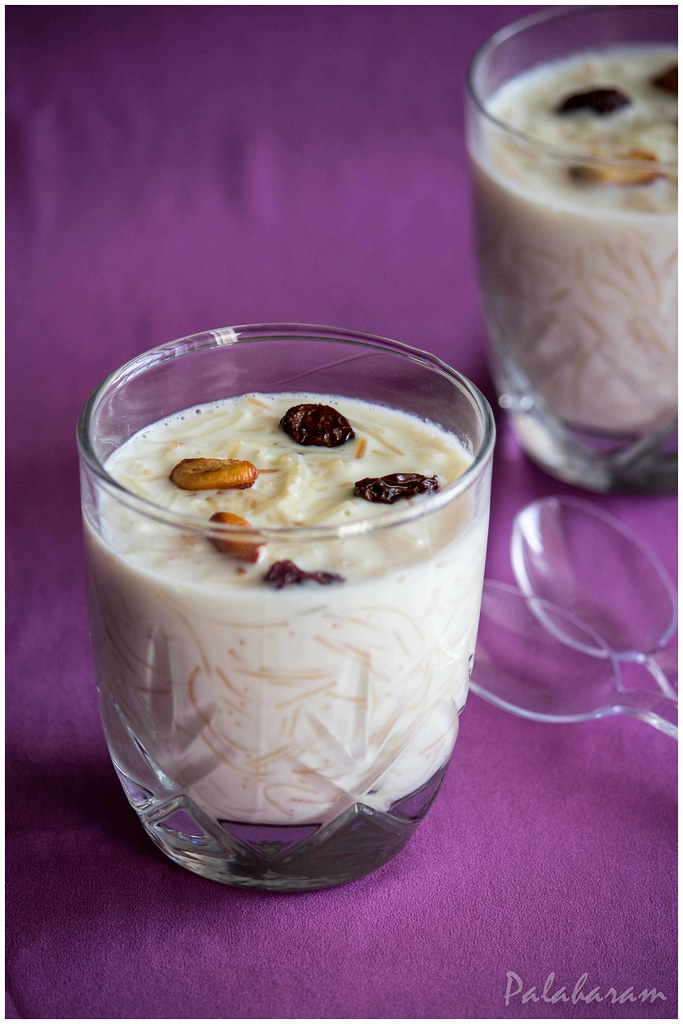
- Serve it warm having garnished it with roasted cashews and raisins.
Tips
- Fry/roast the raisins and cashews one after the other as they take different time to cook.
- Do not over roast the semiya else it would get difficult to get them cooked.
- If you hate to bite cardamom while enjoying your kheer, substitute it with cardamom powder / use a whole cardamom and remove it after having cooked the payasam/kheer.
- The semiya sets/thickens when it cools down, so adjust the kheer consistency by adding more milk and boiling it.
- Since the sweetness of the condensed milk was enough for us, I haven't added sugar. You could add and adjust the sweetness as required.
- Condensed milk brings thickness and richness to the payasam. However, it is optional and you could chose to not use it and substitute it with milk and sugar instead.

Looks so delicious sitting inside glasses there :)
ReplyDeleteStunning clicks.wanna finish 1 cup now............
ReplyDeletelip smacking semiya payasam, totally irresistible dear, love ur clicks...
ReplyDeleteFirst time here. I like ur blog's name very much :) U have a cute space too !
ReplyDeleteThank u Chitra :)
DeleteLooks so tempting and delicious ! I like your new template as well ....
ReplyDeletesemiya payasam is always my go-to quick payasam anytime... the pics are making me drool...
ReplyDeleteTempting clicks..
ReplyDeletecreamy and yummy payasam
ReplyDeleteLooks delicious and yummy.
ReplyDeleteSemiya payasam looks so yummy.. I am not a big fan of semiya but I used to skim from the top as all the semiya settles down...:) the roasting aromas are just unbearable I hate to wait endlessly until the whole thing is ready and cools down :)
ReplyDeleteMakes me want to make payasam. Today. Look what you did? ;-))
ReplyDeletehe he.... :)
DeleteSemiya payasam is always the reliable quick and easy dessert for me. I too like it the next day after chilling it in the refrigerator and warming slightly. Wish to have some now.
ReplyDeleteThis payasam looks so yum.. No matter whatever the occasion, if anyone asks me which payasam u want... I would tell Semiya Payasam, one of my fav since childhood!
ReplyDeleteSemiya payasam is my all time favorite.. its the same here too; lots of memories attached to it. Lovely payasam and awesome pics Anupa
ReplyDeletethis is my go to recipe all the time.. My all time fav.. looks so good
ReplyDeletelooks really tempting dear!! love it!!
ReplyDeleteAww.. looks absolutely stunning and delicious.. awesome photographs as always.. thanks for sharing dear :)
ReplyDeleteLooks delicious....Anupa ,seeing your post.. it is tempting me.. its been a long time i have made this at home..
ReplyDeletedelicious ...
ReplyDeleteOh my goodness, this is gorgeous! I would love to try this!
ReplyDeletelovely blog...pics are v nice and this is one of my favs...
ReplyDeleteLooks so tempting.. Love to have it.
ReplyDelete